CI / CD STRAPI
Prerequisites
-
Active ECS cluster on target account
-
ECR repository in the Development account with the following permissions:
{"Version": "2008-10-17","Statement": [{"Sid": "AllowCrossAccountPull","Effect": "Allow","Principal": {"AWS": ["arn:aws:iam::ID_CUENTA:root","arn:aws:iam::ID_CUENTA:root"]},"Action": ["ecr:BatchCheckLayerAvailability","ecr:BatchGetImage","ecr:GetDownloadUrlForLayer"]}]}````change ID_CUENTA to the id of the target accounts` -
env environment variables file in the “alebat-env” bucket.
-
Task definition of the service.
-
Service implemented with an initial version.
-
Role ‘General-Service-Role_Pipeline—prod’ in the development account.
-
IAM role ‘ECS_cross_account_role’ in the target account with the following permissions:
{"Version": "2012-10-17","Statement": [{"Effect": "Allow","Action": "s3:*","Resource": ["arn:aws:s3:::pipeline-artifacts--prod","arn:aws:s3:::pipeline-artifacts--prod/*"]},{"Effect": "Allow","Action": "kms:*","Resource": "arn:aws:kms:eu-west-1:625515098890:key/71620c59-0436-4027-aee1-85ed2c1b893a"}]}And AmazonECS_FullAccess policy managed by AWSand the following trust relationship
{"Version": "2012-10-17","Statement": [{"Effect": "Allow","Principal": {"AWS": "arn:aws:iam::625515098890:root"},"Action": "sts:AssumeRole","Condition": {}}]}
- CodePipeline Configuration.
- In the AWS console select the CodePipeline service and choose
Pipeline > Pipelines > Pipeline > Create Pipeline.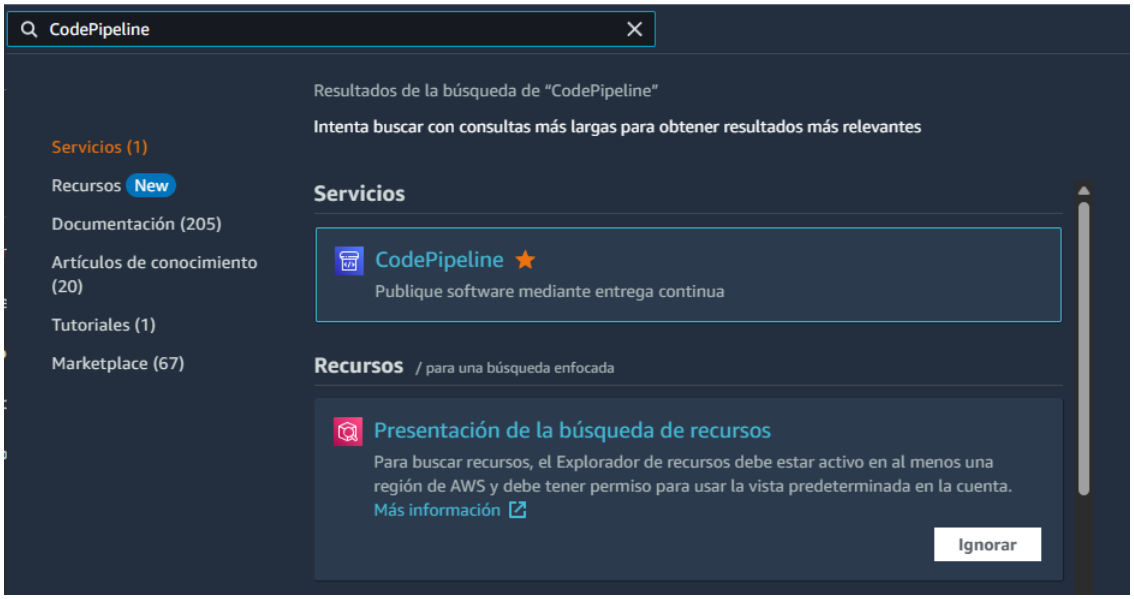
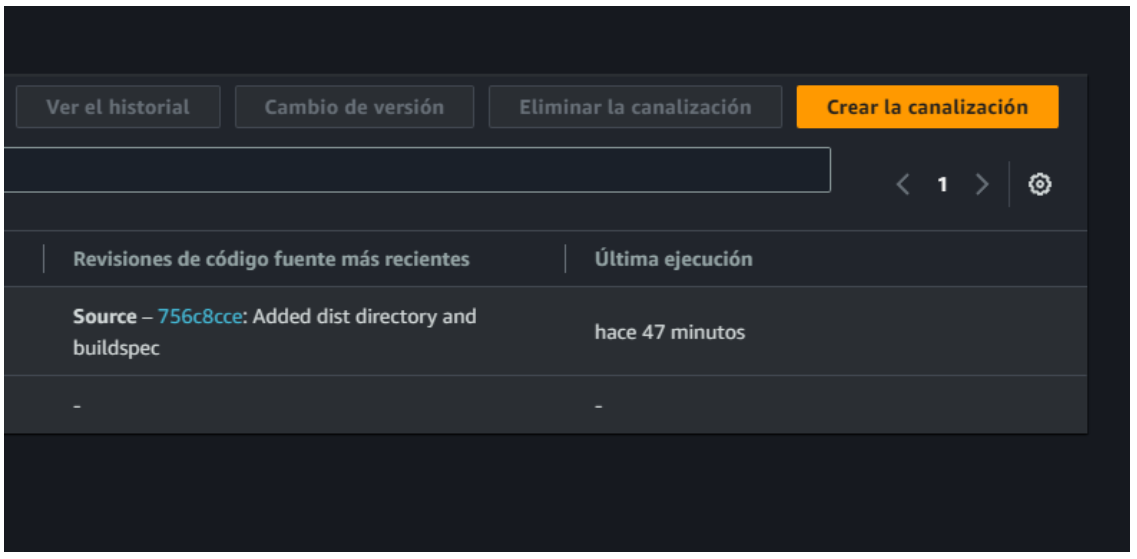
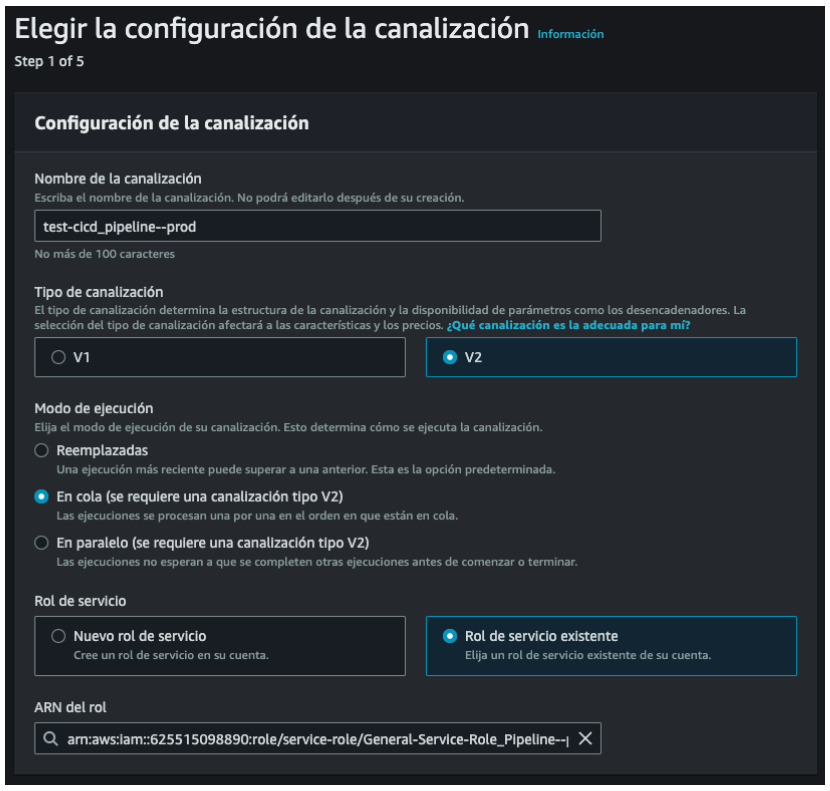
- The menu to create and configure the service will be displayed.
- The pipeline name and service role name must be entered to create one or choose an existing one.
- The pipeline name is recommended with the following nomenclature: “project-name_pipeline—environment”.
Select the service role “General-Service-Role_Pipeline—prod” or “General-Service-Role_Pipeline—test” depending on be the environment you want to deploy.
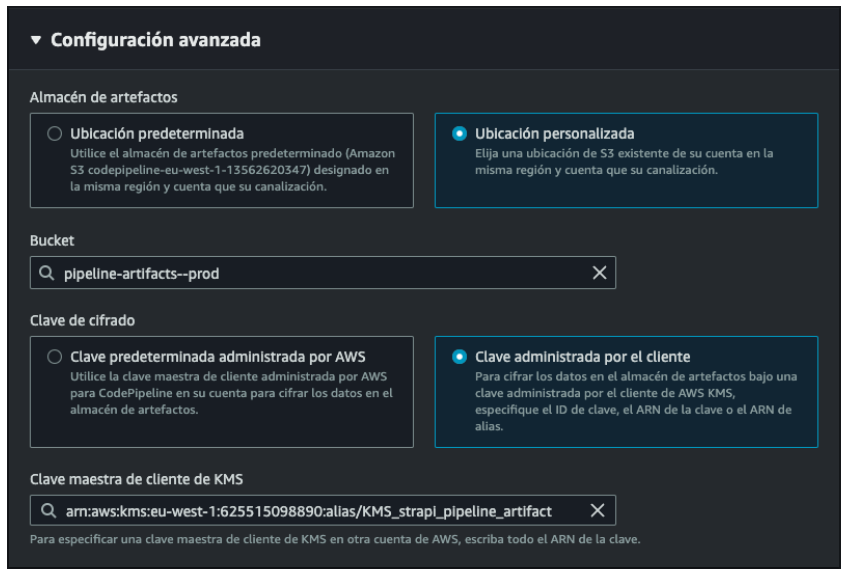
- Next, in advanced configuration you must select where to store the artifacts generated by the pipeline.
Select the bucket “pipeline-artifacts—prod” or “pipeline-artifacts—test” as appropriate. Likewise, select the encryption key “KMS_strapi_pipeline_artifact”.
2. Origin stage.
The origin or source is the stage that will be listening to an event to activate the pipeline. To do so from a GitHub repository, it is necessary to choose it as the source provider and select the repository that will be associated, as well as the branch that will activate the event.
3. Compilation Stage (CodeBuild)
CodePipeline uses the CodeBuild service to carry out the compilation stage. To include this stage it is necessary to select CodeBuild as the compilation project. You can choose a previously created CodeBuild project or you can create a new one from the “Create project” button. This will open a window with the form to create it from the CodeBuild panel.